Installation of the Management Component(Last update of this topic: 06-02-2023) |
  
|
(Last update of this topic: 06-02-2023)
Installation of the Management Component(Last update of this topic: 06-02-2023) |
|
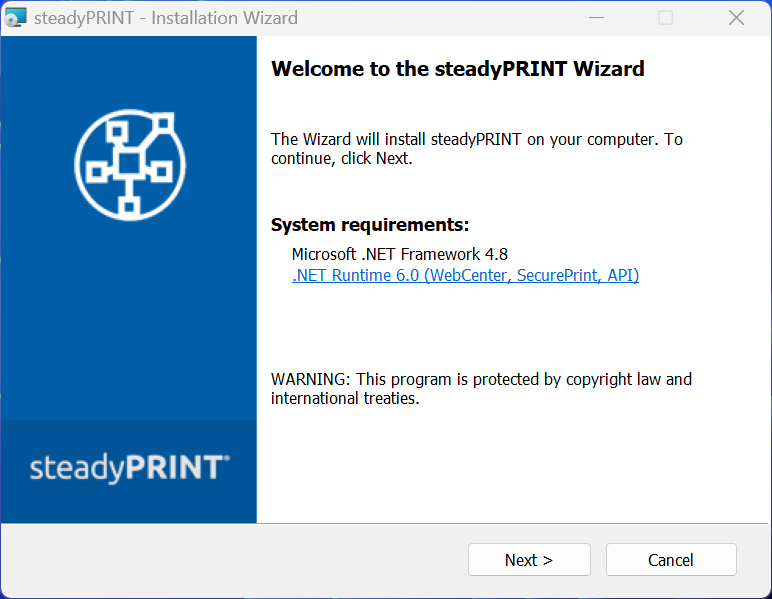
Fogire 223: Next
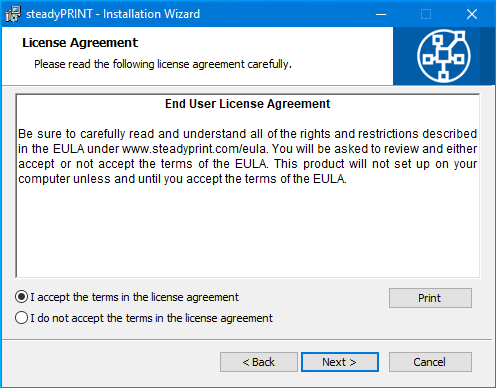
Figure 224: Accpet & Next
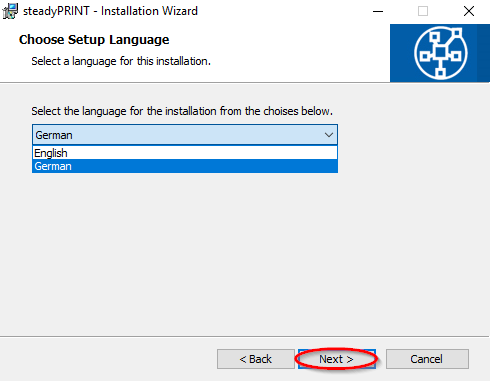
Figure 225: Select language & next
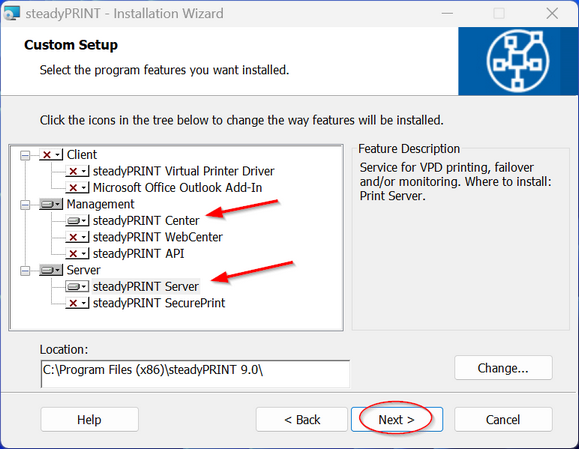
Figure 226: Select management component & next
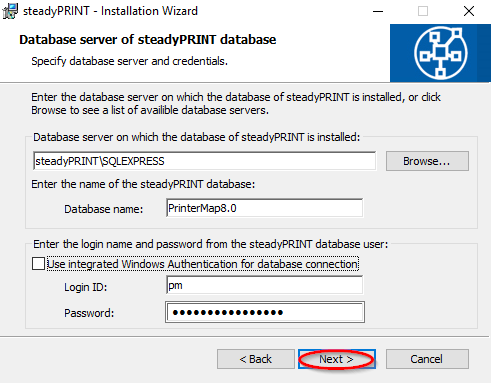
Enter the information for the database server, the steadyPRINT database and the separate database user for steadyPRINT as of the installation of the database that have been specified before when creating the
database within the application CreateSteadyDB. Then click Next.
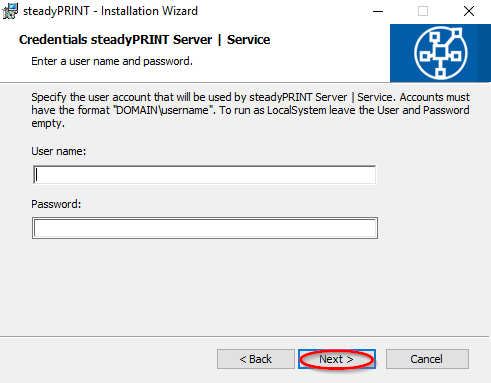
Figure 227: Next
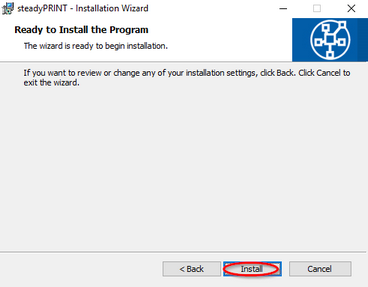
Figure 228: Install
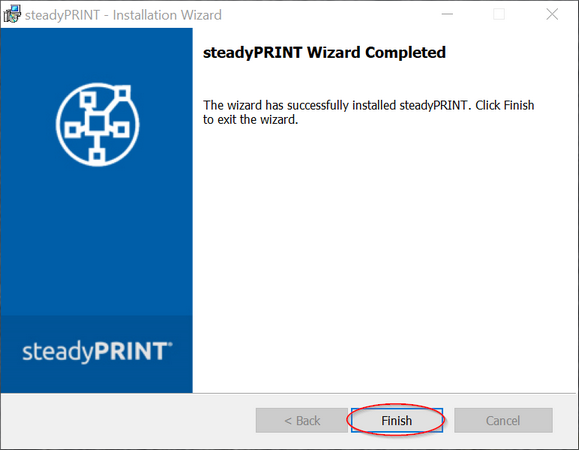
Die steadyPRINT management components have been completely installed. Click Finish to complete the installation.